Restore Legacy Print Que in Windows 11
Restore the Legacy Print Dialog in Windows 11 (22H2)
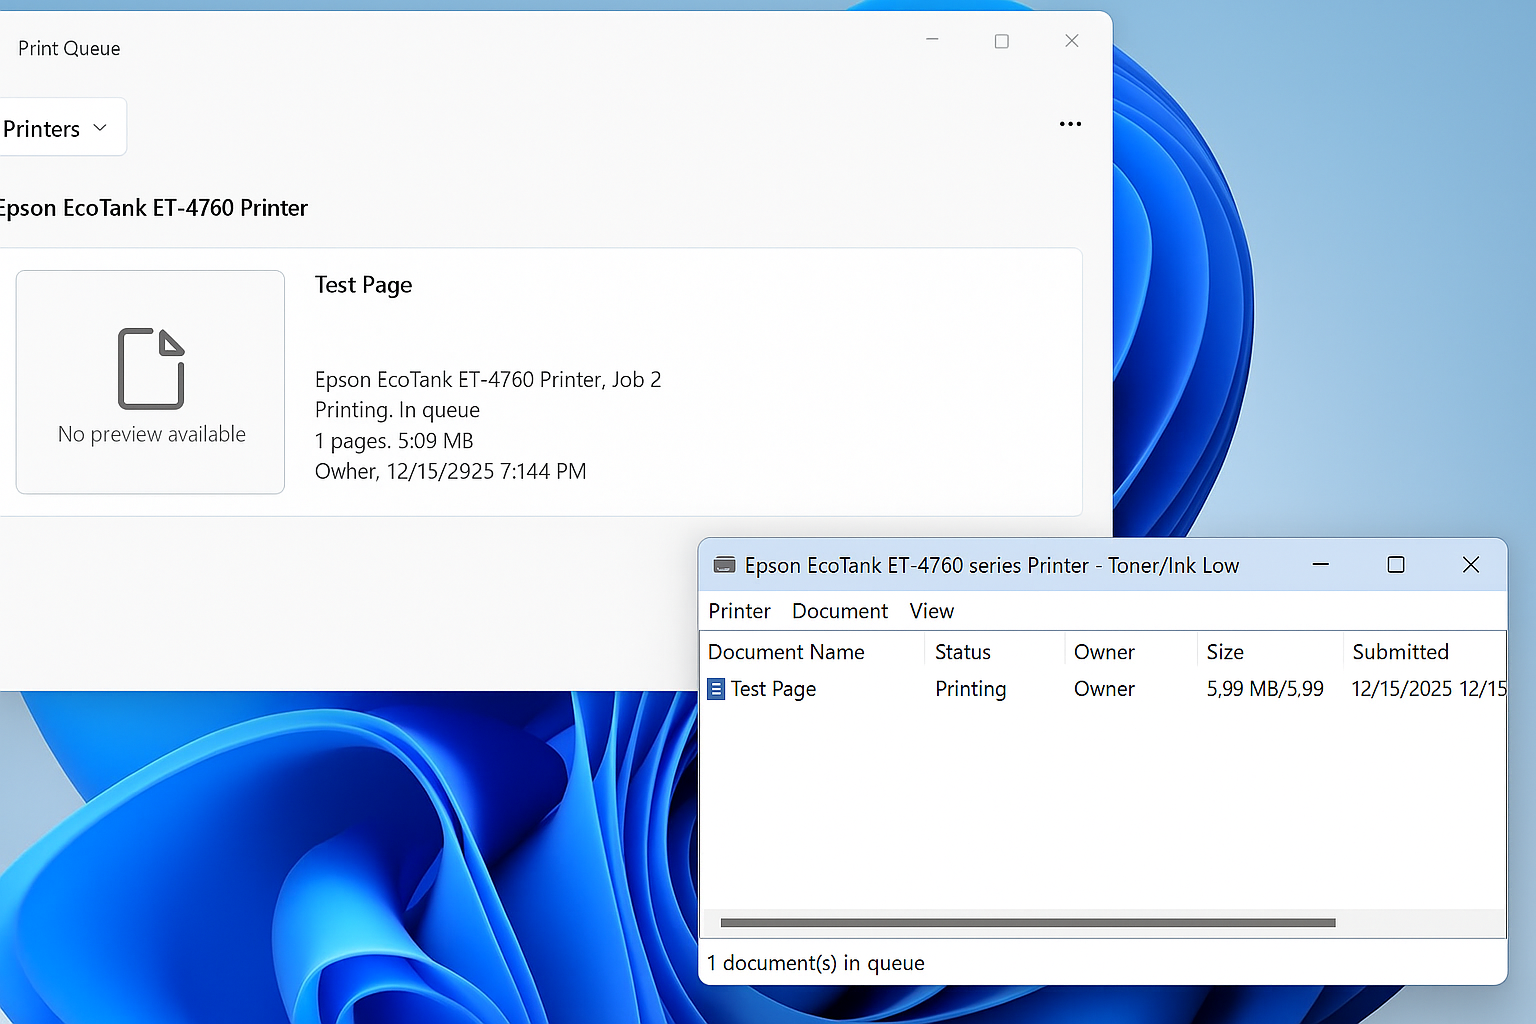
Starting with Windows 11 version 22H2, Microsoft replaced the legacy print dialog for all classic Win32 applications with a new unified print interface. This change also affects applications such as Giza, and for some users the new dialog has proven to be less efficient or more cumbersome than the legacy version.
If you prefer the classic print dialog, you can restore it by following one of the methods below.
Method 1: Using Command Prompt
- Open Command Prompt.
- You do not need to run it as administrator since this change applies only to the current user.
- Type the following command exactly as shown, then press Enter:
reg add "HKCU\Software\Microsoft\Print\UnifiedPrintDialog" /v "PreferLegacyPrintDialog" /d 1 /t REG_DWORD /f- If the command runs successfully, you should see the message:
The operation completed successfully.The change takes effect immediately for most applications. Restart any open apps if necessary.
Method 2: Using Registry Editor
Alternatively, you can apply the same setting manually using the Registry Editor.
- Press Windows Key + R, type
regedit, and press Enter. - Navigate to the following registry path:
HKEY_CURRENT_USER\Software\Microsoft\Print\UnifiedPrintDialog- In the right pane, right-click and select:
- New > DWORD (32-bit) Value
- Name the new value:
PreferLegacyPrintDialog- Double-click the value and set the Value data to:
1- Click OK and close the Registry Editor.
Method 3: Using a .REG File
You can also restore the legacy print dialog by creating and running a registry (.reg) file. This is useful for quick deployment or scripting.
- Open Notepad.
- Copy and paste the following text exactly as shown:
Windows Registry Editor Version 5.00

[HKEY_CURRENT_USER\Software\Microsoft\Print\UnifiedPrintDialog]
"PreferLegacyPrintDialog"=dword:00000001- Click File > Save As.
- Set Save as type to All Files.
- Name the file something like
Enable-Legacy-Print-Dialog.reg. - Save the file.
- Double-click the file and click Yes when prompted to confirm the registry change.
The change takes effect immediately. Restart any open applications if the legacy dialog does not appear right away.
Notes
- This setting applies per user, not system-wide.
- To revert back to the new print dialog, delete the
PreferLegacyPrintDialogvalue or set it to0. - Some modern UWP apps may continue to use the new print dialog regardless of this setting.