Troubleshooting Windows Boot Failure: Error 0xc000000f

Fixing Boot Error 0xc000000f
“A required device isn’t connected or can’t be accessed.”
OverviewWindows
A system that fails to boot and displays the blue screen error 0xc000000f is unable to locate or access the required boot device. This error commonly appears during startup before Windows loads and prevents the operating system from launching.
This issue is frequently encountered in real-world support scenarios and often points to a storage-related failure or boot configuration problem.
Common Causes
- Failing or disconnected hard drive or SSD
- Loose SATA or power cable inside the workstation
- Corrupted Master Boot Record (MBR) or Boot Configuration Data (BCD)
- Damaged file system or unreadable disk sectors
- Recently failed update, power loss, or improper shutdown
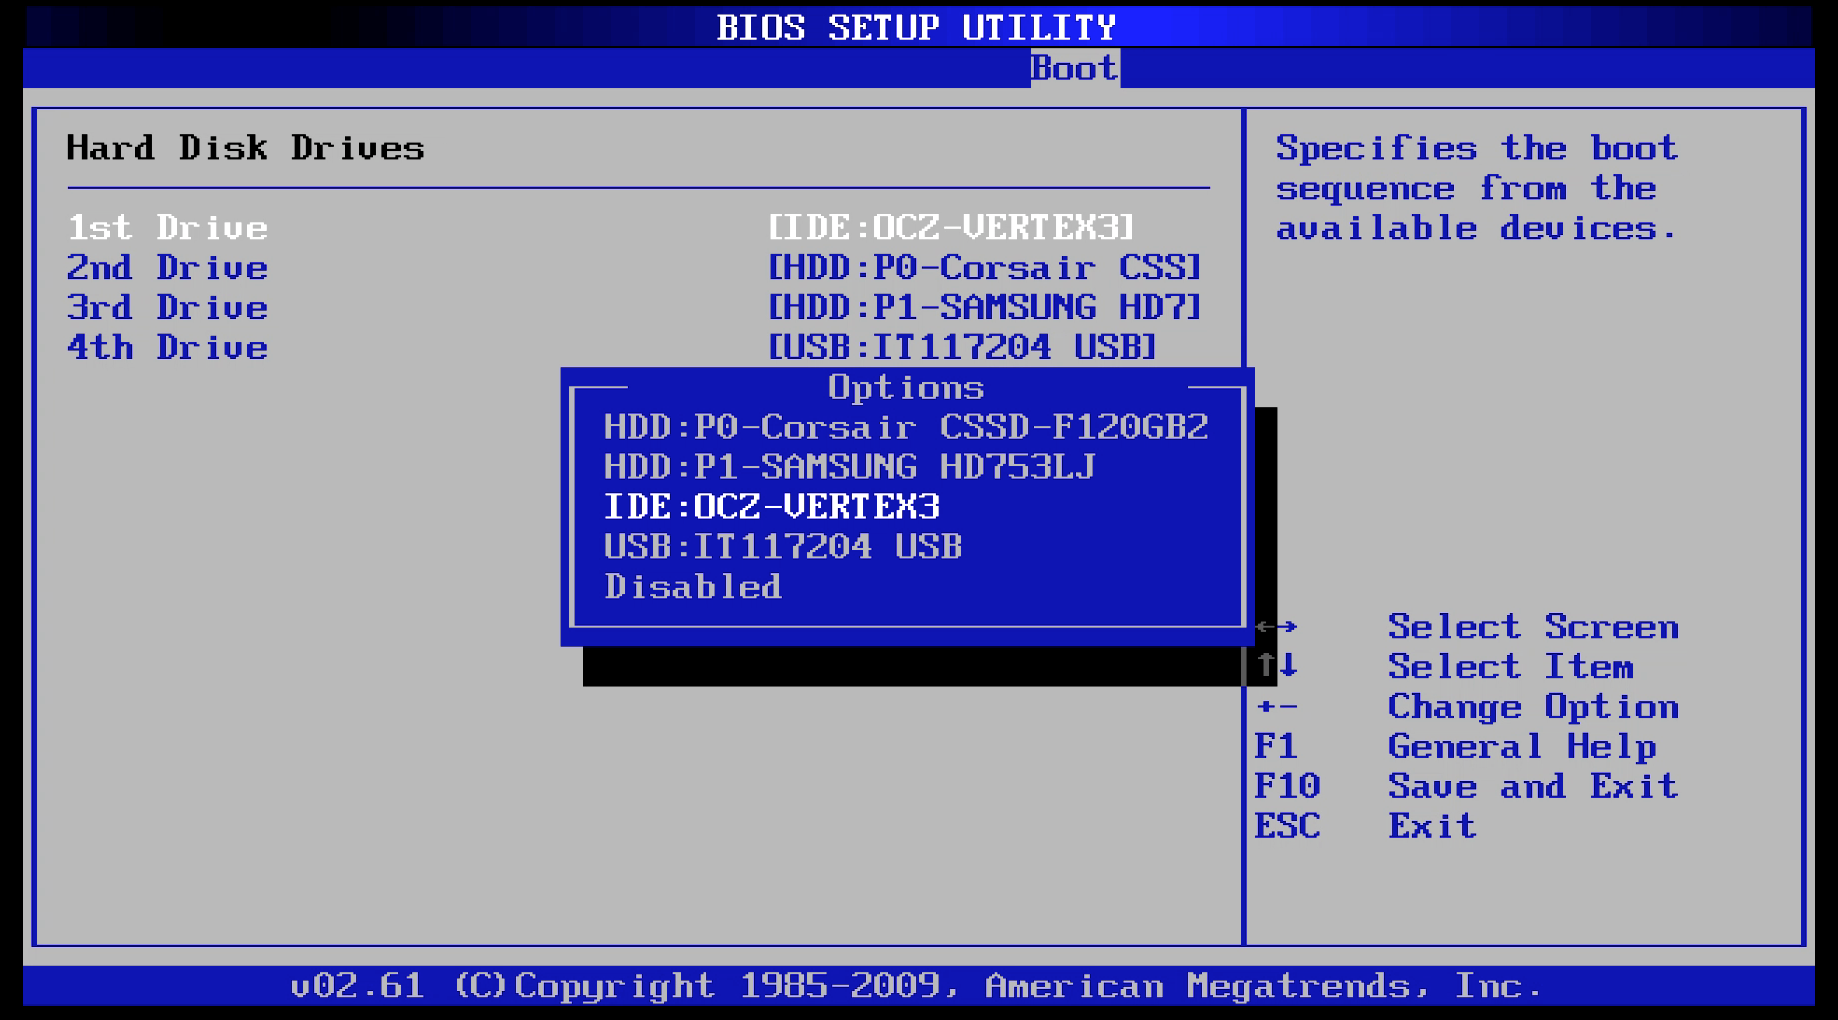
Step 1: Verify Drive Detection in BIOS
Before attempting any software repair, confirm that the system can still detect the hard drive.
- Power on the computer and enter the BIOS or UEFI setup (common keys include DEL, F2, F10, or ESC).
- Navigate to the Boot or Storage section.
- Confirm whether the primary hard drive or SSD is listed as a boot device.
Outcomes
- Drive is visible: The hardware is likely functional. Proceed to recovery and repair steps.
- Drive is not visible: Power down the system and proceed to a physical inspection.
Step 2: Check Physical Drive Connections
If the drive does not appear in BIOS:
- Power off the workstation and unplug it.
- Open the case.
- Verify the following:
- SATA data cable is firmly connected to the motherboard
- Power cable is securely attached to the drive
- If available, test with a different SATA port or cable.
If the drive still does not appear after reseating, the drive has likely failed.
Step 3: Attempt Automatic Startup Repair
If the drive is detected, boot into the Windows Recovery Environment.
Access Recovery Environment
- Power cycle the machine during boot until recovery loads
- Or use a Windows installation or recovery USB
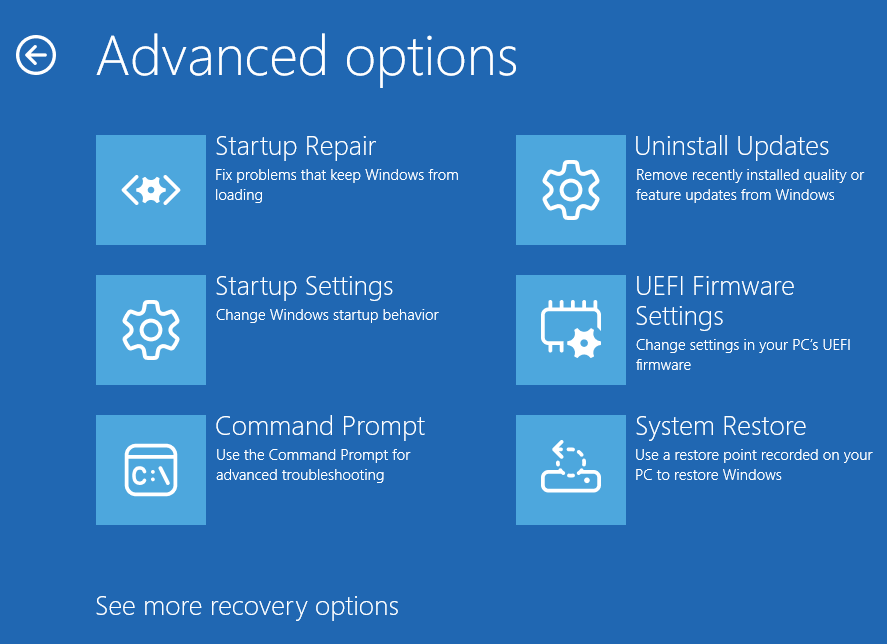
Navigate to: Troubleshoot > Advanced options > Startup Repair
Allow Windows to attempt automatic repairs.
Step 4: Manual Boot Repair via Command Prompt
If automatic repair fails, open Command Prompt from the recovery environment.
Open Command Prompt
- Troubleshoot > Advanced options > Command Prompt
- Or press SHIFT + F10
Run the following commands one at a time, in order:
bootrec /fixmbr
bootrec /fixboot
bootrec /scanos
bootrec /rebuildbcd
These commands rebuild boot records and repair corrupted boot configuration data. Restart the system after completion.
Step 5: Check Disk for Errors
If boot repair does not resolve the issue, run a full disk check:
chkdsk C: /f /rThis command scans for file system errors and attempts to recover readable data from bad sectors. The process can take a significant amount of time on large or failing drives.
Step 6: Drive Replacement Decision
If all repair attempts fail:
- Confirm with the client that there are no local-only files requiring recovery.
- If data recovery is needed, stop and escalate before proceeding.
- Replace the hard drive or SSD.
- Perform a clean Windows installation.
- Complete the standard New Computer Setup process.
Note: Data recovery of local files may be required for the failed hardrive.
Brief Summary of Troubleshooting Steps
Recommended troubleshooting order:
- Confirm drive detection in BIOS
- Verify physical connections
- Attempt automatic repair
- Repair boot records manually
- Run disk integrity checks
- Replace drive only after confirmation
- Don’t forget to try and recover local files off of the failed hardrive before disposing it.